AWX (Ansible Tower)
![]()
![]()
Presentation
AWX is the upstream version for Ansible Tower.
This documentation explains how to interconnect LemonLDAP::NG and AWX using SAML 2.0 protocol.
You can find the Official AWX documentation about this topic here : https://docs.ansible.com/ansible-tower/latest/html/administration/ent_auth.html#saml-authentication-settings Please read it before the LL::NG doc.
Configuration
This page assumes you already have configured the SAML Service in LemonLDAP::NG, if not please follow : SAML service configuration
AWX SAML Key & Certificate
You’ll need a private key and the corresponding certificate to setup saml in AWX, you can do it with your pki or with openssl on your machine :
openssl req -x509 -newkey rsa:4096 -keyout saml-awx.key -out saml-awx.crt -days 3650 -nodes
LL::NG SAML Certificate
AWX need a certificate for the IDP signature, a public key won’t work. You can either just generate a certificate from the private key and put it in AWX conf, or you can do it globally.
Generate Certificate from Key
You can find your private key in : SAML2 Service -> Security Parameters -> Signature -> Private Key
Copy it somewhere secure as lemonldap.key, and then generate the certificate with this command :
openssl req -new -x509 -days 3650 -key lemonldap.key > lemonldap.crt
After that, if you want, you can replace your SAML public key with this certificate in LL::NG configuration, this is not mandatory.
AWX
You’ll need an administrator account, then go to Settings -> Authentication -> SAML
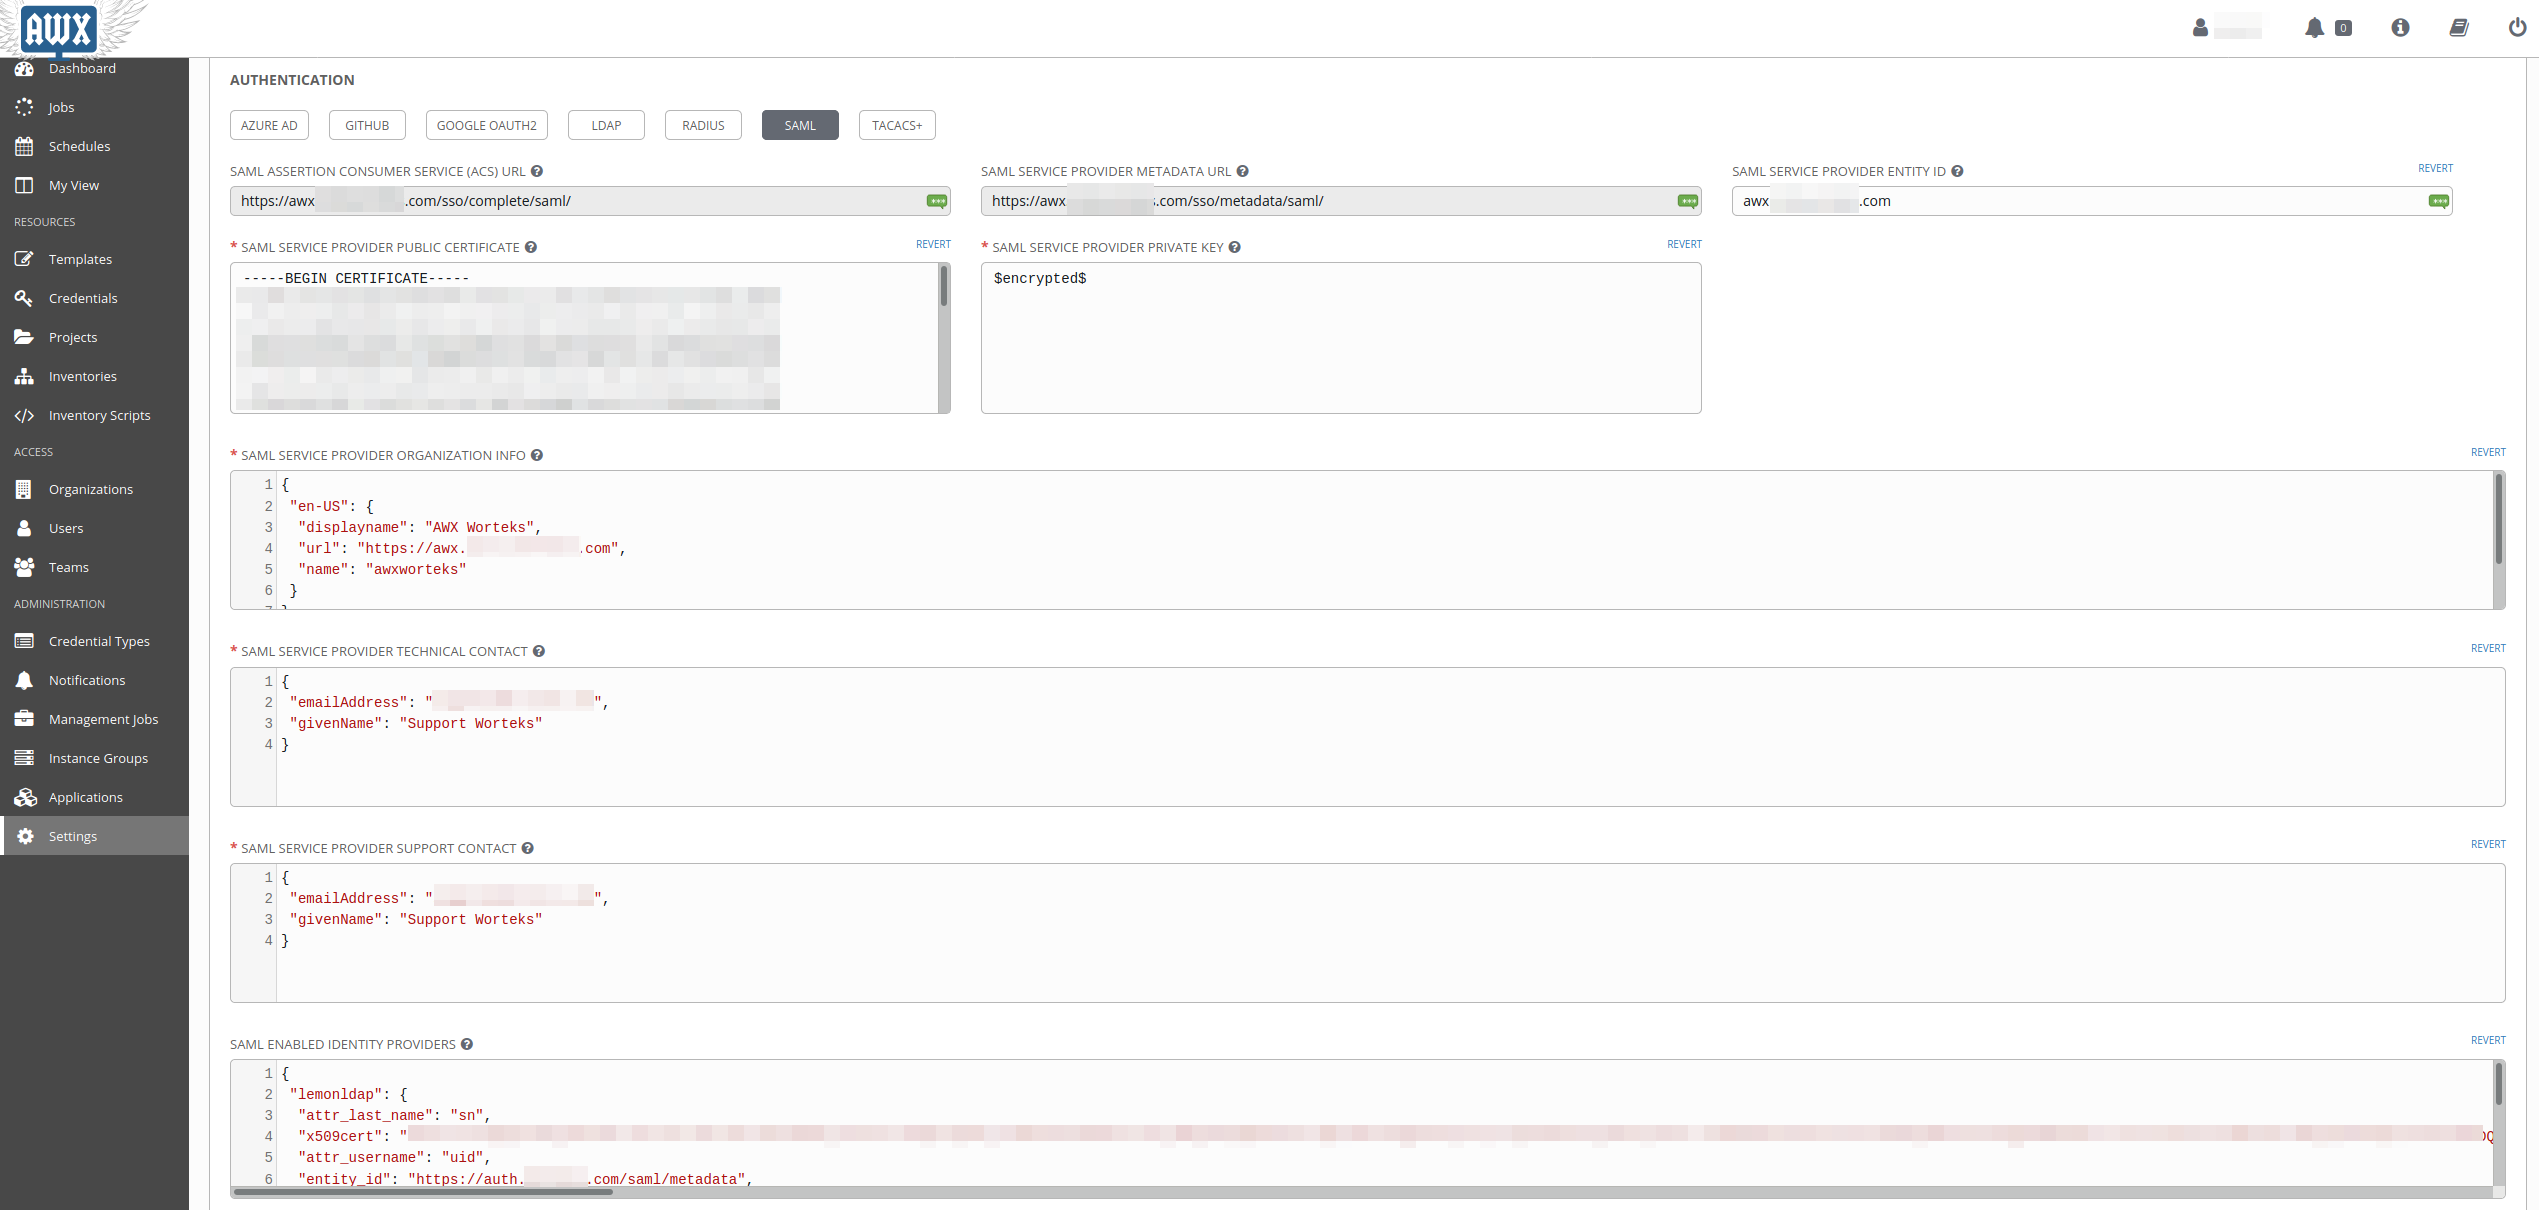
There is a few settings :
SAML Service Provider Entity ID
This is the entityID for awx, lets put the fqdn : awx.example.com
SAML Service Provider Public Certificate
Put the content of saml-awx.crt
-----BEGIN CERTIFICATE-----
cert
-----END CERTIFICATE-----
SAML Service Provider Private Key
Put the content of saml-awx.key
-----BEGIN RSA PRIVATE KEY-----
key
-----END RSA PRIVATE KEY-----
It will be replaced with $encrypted$ after you save the settings.
SAML Service Provider Organization Info
Organization Info for The SP, this is purely “for looks”
{
 "en-US": {
  "displayname": "AWX ACME",
  "url": "https://awx.example.com",
  "name": "awxacme"
 }
}
SAML Service Provider Technical Contact
Technical Contact for the SP
{
 "emailAddress": "support@example.com",
 "givenName": "Support ACME"
}
SAML Service Provider Support Contact
Support Contact for the SP
{
 "emailAddress": "support@example.com",
 "givenName": "Support ACME"
}
SAML Enabled Identity Providers
This is the configuration of the IdP :
{
 "lemonldap": {
  "attr_last_name": "sn",
  "x509cert": "SOXGp.....",
  "attr_username": "uid",
  "entity_id": "https://auth.example.com/saml/metadata",
  "attr_first_name": "givenName",
  "attr_email": "mail",
  "attr_user_permanent_id": "uid",
  "url": "https://auth.example.com/saml/singleSignOn"
 }
}
“attr_last_name”: “sn” SAML Attribute for the user last name
“x509cert”: “SOXGp…..” the content of
lemonldap.crtgenerated in the “LL::NG SAML Certificate” section“attr_username”: “uid” SAML Attribute for the user username
“entity_id”: “https://auth.example.com/saml/metadata” entityID of the IdP
“attr_first_name”: “givenName” SAML Attribute for the user first name
“attr_email”: “mail” SAML Attribute user for the user email
“attr_user_permanent_id”: “uid” SAML Attribute for the user unique id inside AWX
“url”: “https://auth.example.com/saml/singleSignOn” SAML SSO Url
SAML Security Config
{
   "requestedAuthnContext": false,
   "authnRequestsSigned": true
}
Save your configuration.
LemonLDAP:NG
We now have to define a service provider in LL:NG.
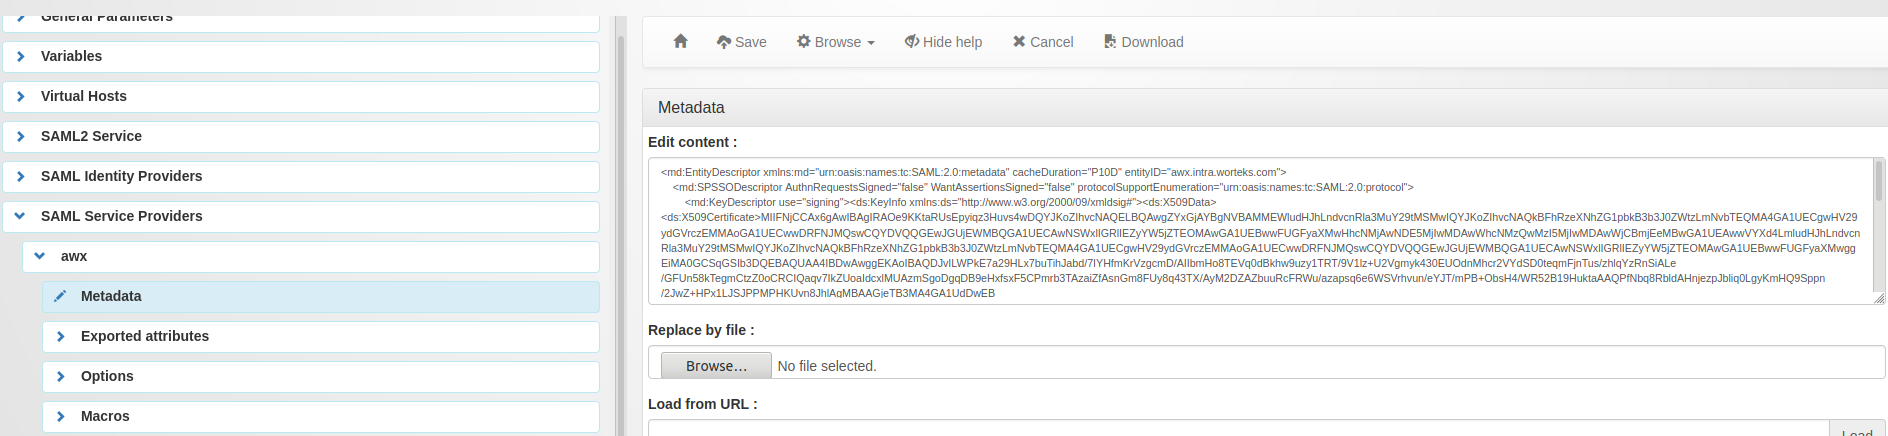
Go to “SAML service providers”, click on “Add SAML SP” and name it as you want (example : ‘AWX’)
In the new subtree ‘AWX’, open ‘Metadata’ and paste the content of the
AWX Metadata, wich can be found at the
SAML Service Provider Metadata URL in AWX :
https://awx.example.com/sso/metadata/saml/
Now go in “Exported attributes” and add, the ‘uid’, ‘sn’, ‘givenName’, ‘mail’.
All four attributes are mandatory for AWX. Make sure they match the names of the attributes available in your LemonLDAP sessions.
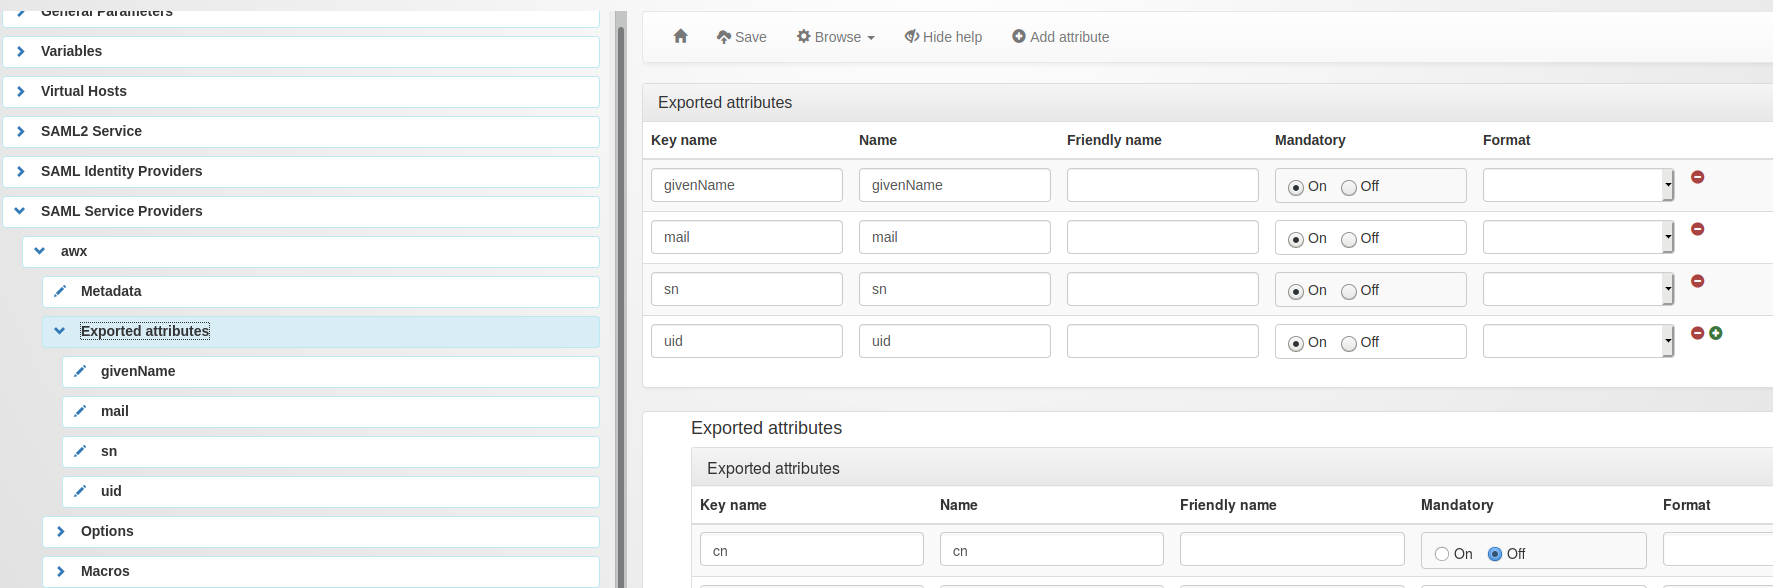
Don’t forget to save your configuration.
You are now good to go, and you can add the application in your menu and your virtual hosts.
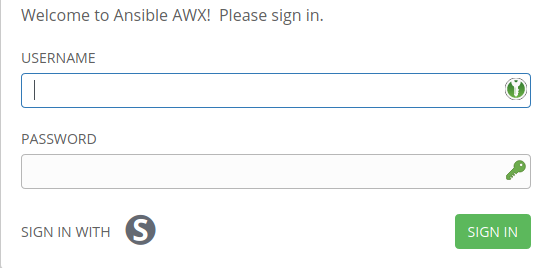
You should now have a SAML button on the login page :